HOME | FREE BEGINNING BLUEGRASS BANJO LESSONS | FREE VIDEO BANJO LESSONS BRAD'S FREE PODCAST FOR STUDENTS | FREE BANJO CHORD CHARTS | BRAD'S BANJO E-BOOKS |
||
LINKS TO MY OTHER LESSON SITES: • Mandolin • Bluegrass Bass
©2017 Bradley Laird
|
FREE
BANJO LESSONS - by Bradley Laird
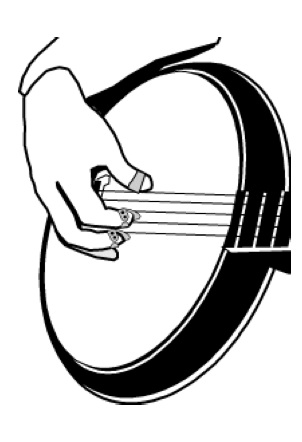
LESSON 3 Right
Hand Position To better understand how the wrist is arched, hold your right arm straight out in front of you with your palm down. Now, allow your wrist to relax and your hand to "flop" down. Now, lower your arm into playing position. Did your wrist stay relaxed? You should bend at the elbow and the shoulder joints to allow the loose wrist to come into position touching the head. The right hand should be hanging by its own weight and the ring finger touching on the head. If you notice your wrist joint tightening up and your arm beginning to become straight--which will cause your elbow to stick out--let it hang down loosely.
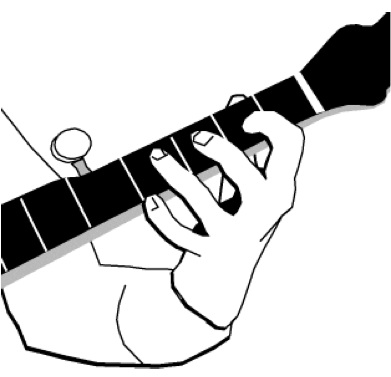
Left Hand Position
(Illustrations © Bradley Laird )
All of my banjo books are downloadable eBooks. Get 'em today! Free DHTML scripts provided
by
| |