|
HOME | FREE BEGINNING GUITAR LESSONS | FREE VIDEO GUITAR LESSONS BLUEGRASS GUITAR 101 EBOOK | FREE GUITAR TABS | FREE GUITAR CHORD CHARTS |
||||
LINKS TO MY OTHER FREE LESSON SITES: • Mandolin ©2016 Bradley Laird
|
FREE
GUITAR LESSONS - by Bradley Laird
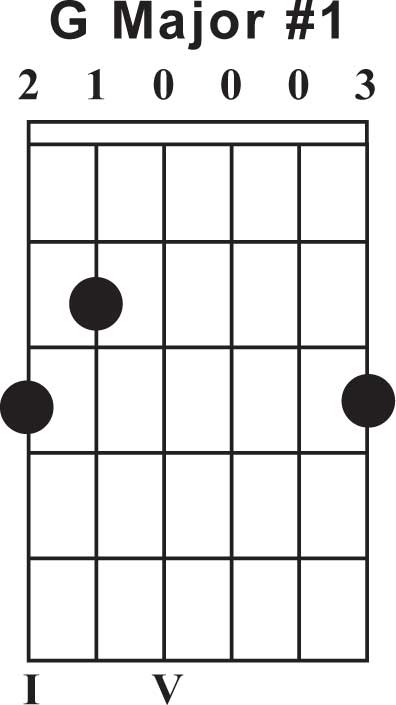
LESSON 5 - BASIC BLUEGRASS RHYTHM The basic concept of playing bluegrass rhythm (at its most elementary level) is to: 1) Hold a chord shape such as one of the ones you have learned so far. Like this one:
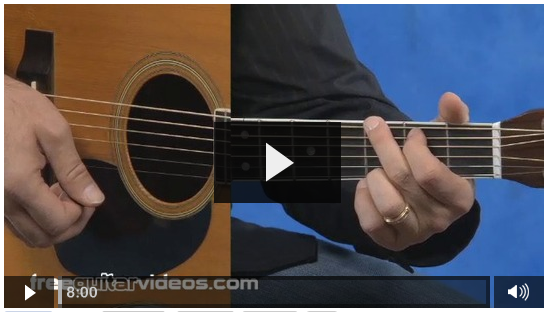
2) Play the first bass note. Using a flat pick held in the right hand, play a single bass note marked at "I" in the charts. In the G chord above it is the 6th string. The pick, held between the thumb and the forefinger of the right hand plucks this string with a short downstroke. 3) Strum strings 1, 2 and 3 while still holding the chord. To strum, and I am sure I don't need to say this, means to drag the pick across several strings at once. Just lay the tip of your pick on the 3rd string and move your hand towards the floor. 4) Play the second bass note. This is shown on the chart as a "V" and in the G chord it is the 4th string played open. 5) Again, strum strings 1, 2 and 3. Some people describe this at "boom chick" or "bass strum". It can be counted as "one-and-two-and" and all of these strokes are downstrokes with the pick. Just keep holding the chord shape and repeat steps 2-5 over and over and over-- nice and steady. To see what this basic bluegrass rhythm looks like written in tablature and standard music notation, take a look here. That's it! That is the basic bluegrass rhythm. To see this in action take a look at this video I filmed at Watch and Learn of my friend David Ellis showing how it's done: Now let's move on to Lesson 6 and look at bluegrass rhythm in more depth. I will explain all of the important chord forms you will need.
| |||

 or this one...


